$500 House Challenge
Objective
The Objective of this challenge was the collaboration between Architectural Students and Construction Management Students. We were given the task to create a sustainable house with a budget of $500. Architectural Students were given the task to gather the opinions of their peers and construct the documents and design of the house. Construction Management Students were given the task to manage the prices and project delivery that we were utilizing for the project by finding the materials online and coordinating a list of items that we used.

Initial Design
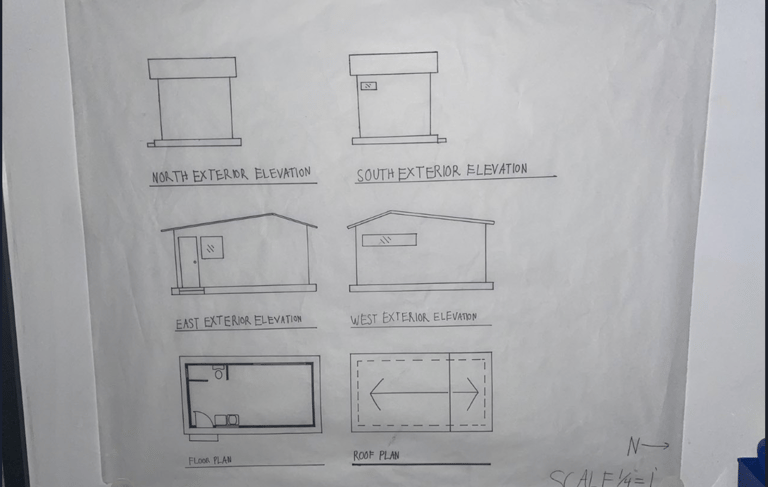
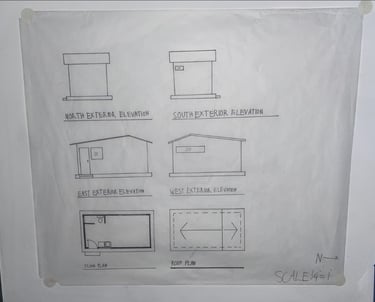
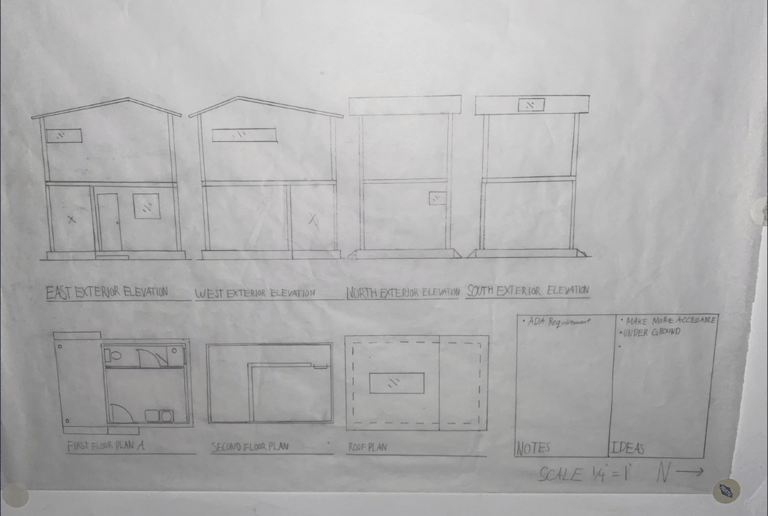
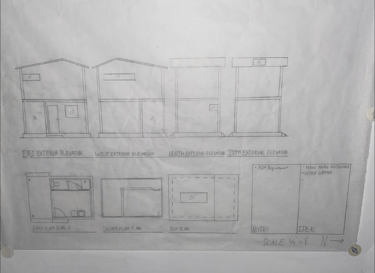
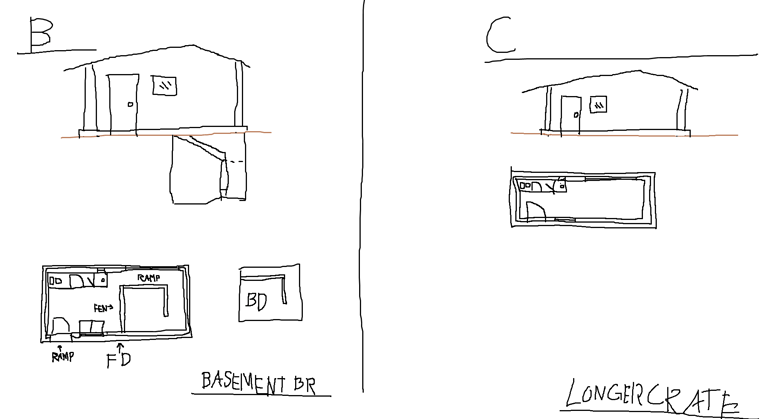
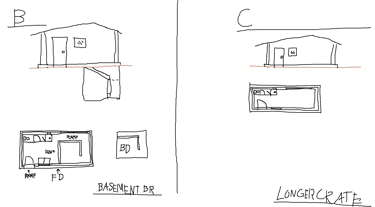
Figure 1
Figure 2
Figure 3
Sketching Process
While coming up with a design, I started by sketching some ideas in paint. nothing to over complicated, just a floor plan and elevation. In Figure 1, we can see two out of the three sketches I created. Unfortunately, the for sketch A was lost; however, I did hand-draft sketch A. For sketches B-C, we can see the evolution of the design process, with Sketch B utilizing a basement feature for insulation but scraping the idea due to space. Sketch C was the final design option and was the best choice out of the three.
Hand-Drafting Process
learned from other classes. Figure 3 was developed first, and I concluded, thanks to my teacher's input, that the design did not meet ADA requirements. Then I started the design process for Figure 2. Figure 2 was the simplest of the design options that were sketched out and by far the easiest to develop for the project.
Final Product


When transferring the hand sketches to Revit, I learned many techniques that helped in the process. The sketch in Figure 3 was the first model I transferred over due to the complexity and challenge it gave me. Even though we had already decided on Figure 2, I wanted to really hone my skills and start out with Figure 3.
The major issue I ran into with this model was the inaccessibility a person with disabilities would have with the second level. The overall problem I faced was the ADA requirements that my professor wanted to challenge us with. I believed at first I could overcome this challenge utilizing ramps or staircases; however, due to the scale of the house, I had to scrap the idea and place in a ladder, to at least meet the minimum requirement for myself, which allows people to access the second level of the house.
Overall, I enjoyed the creation of this model to gain a bit of experience utilizing Revit for this model, so when I developed the final product, it became easier than previously
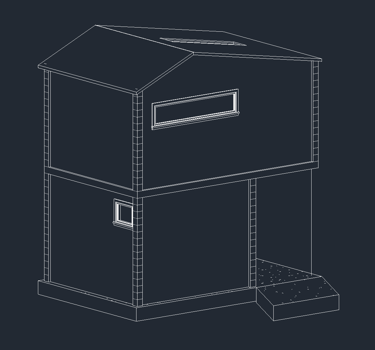
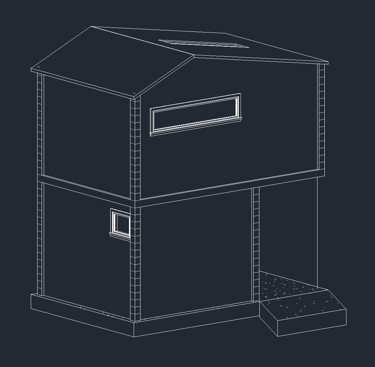
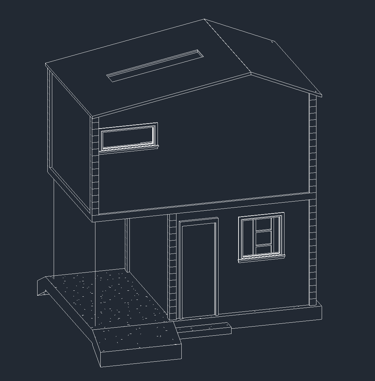
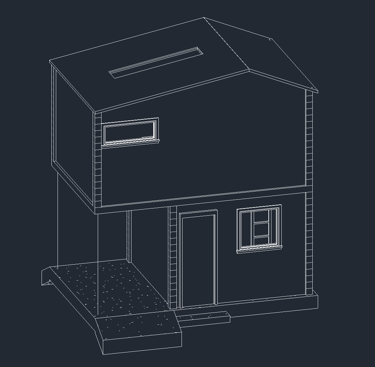
Figure 4
Figure 5
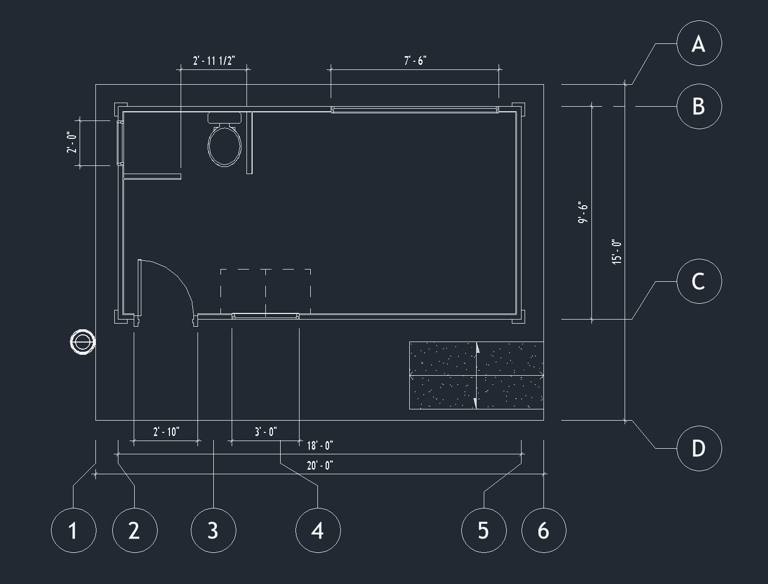
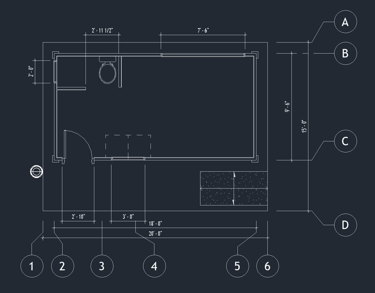
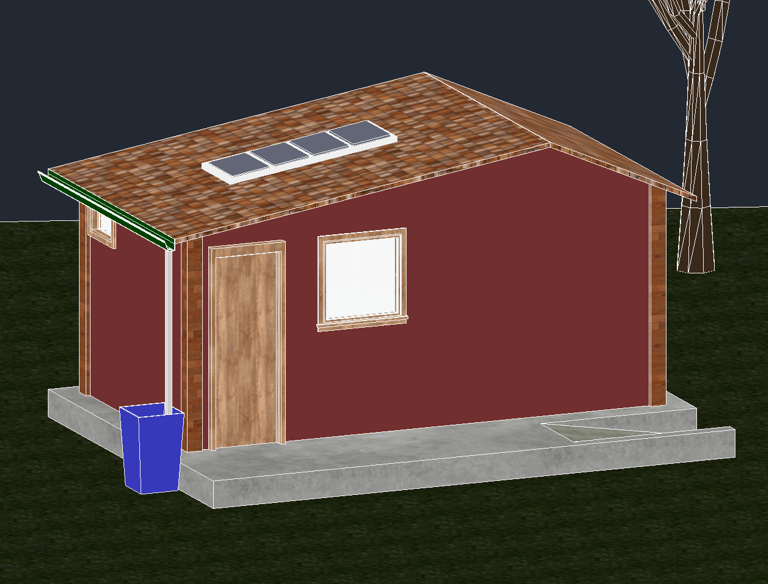
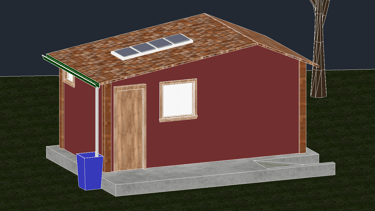
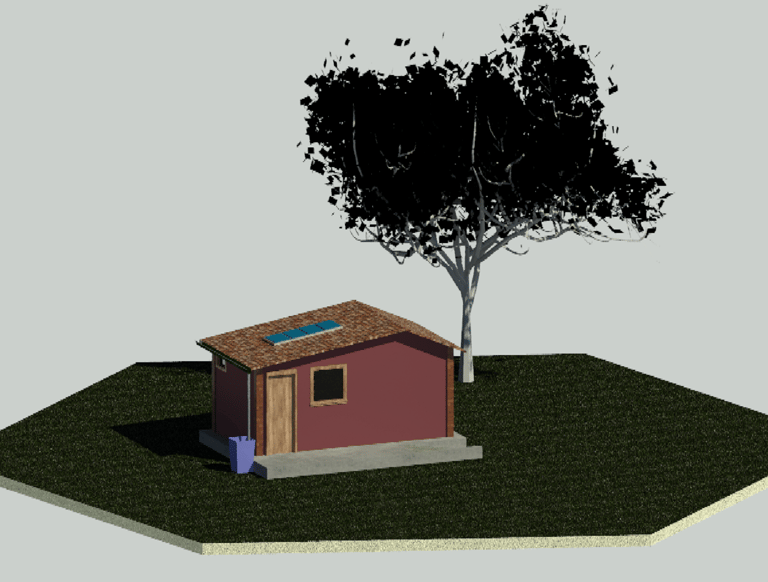
Figure 6
Figure 7
Figure 8
In Figure 6, we can see that many developments occurred during the transition period of the model. The major detail that was added was the implementation of the front patio and ramp. As stated previously, the major issue was the ADA requirement, and by making the building one floor, we got passed that issue thanks to the ramped patio. The dimensions were added as well to show off the scale of the project, and to help in the simple construction of the project.
In Figure 7, we see a non-rendering version of the project. This is intended to illustrate the contrast between the floor plan and the finished project. For example, in this image, we can see a gutter system for water collection and a solar panel to provide a self-sufficient energy supply. This helps provide the information needed to know that this design is sustainable.
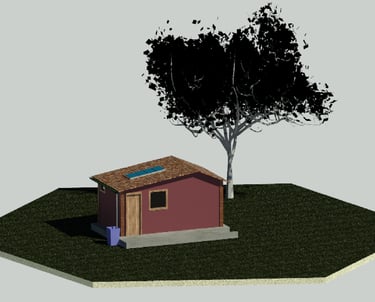
In Figure 8, we can see a full render that was done in Revit. Even though it is not a rendering done in a more sophisticated software, this was done on purpose to convey that this building can be done in any region in the world, and not just a natural plain. The Idea that we had was to convey that this building can be constructed in any region and be livable in a sustainable manner.